My Very Own Project
Introduction
When starting a new project you are usually provided with a prepared project folder that you can copy or download. From this point forward you will be expected to do all of this by yourself.
Start a New Project in IntelliJ
Open the project dialog
From the File (Alt-f) menu, select the New (n) sub-menu, and finally the Project… option.

This triggers the following dialog:
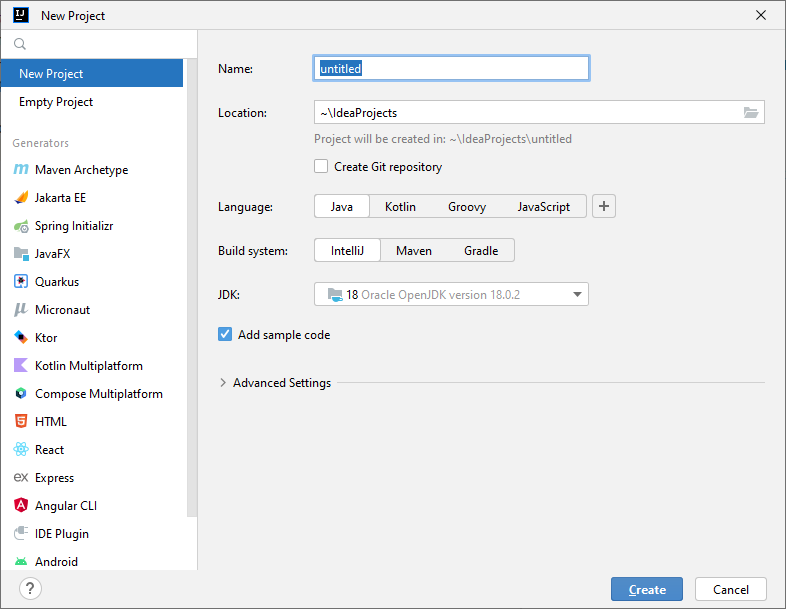
Choose the name of your project.
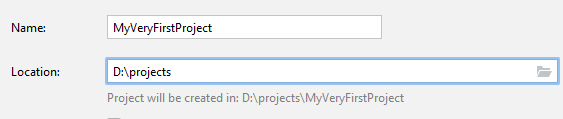
At this point you must choose the name of your project:
The default ~\IdeaProjects is located in the User folder of your operating system.
You may also choose the projects save location. This way the project is placed in a specific folder of your choice.
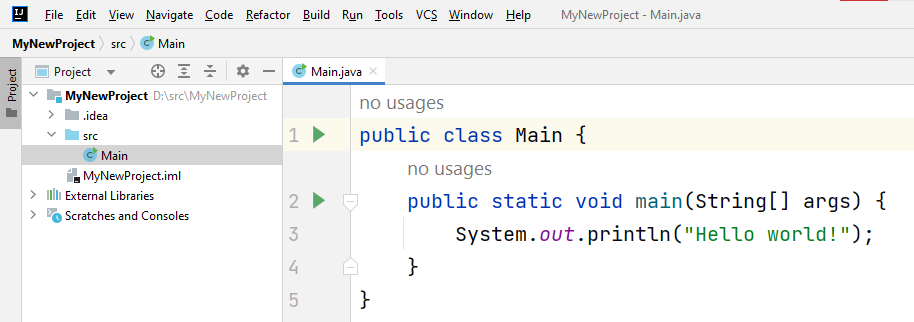
Result
After all this you are presented with an empty project with only a Main class that implements the “Hello world!” application.
Running your application
By pressing Shift-F10 your project will be executed.
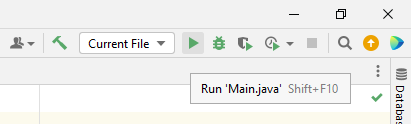
To be very precise here. This executes the project using the main method that is implemented in your Main class. From there the first classes of your project can be initialized and their methods can be called.
In this case the program simply executes the printLine method.
Console
The standard output of your application can be seen in the console window that pops up at the bottom of your IDE.
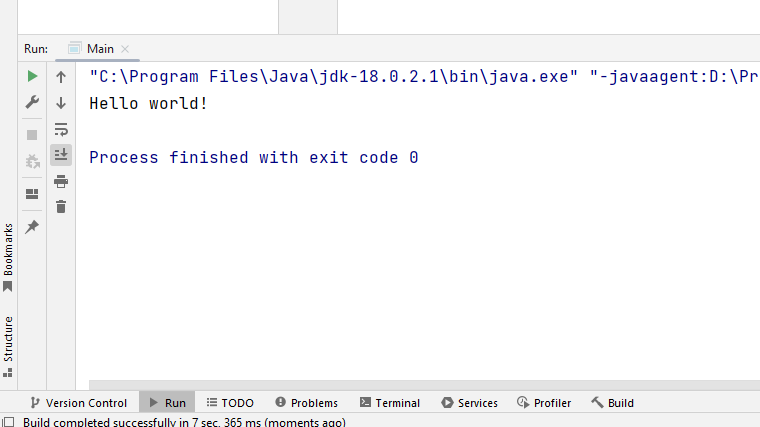
It starts with a blue line that shows the command that was used to start your application. After that it shows all the things that you print.
OMG! I miss my SaxionApp
Introduction
The SaxionApp is very useful to create a small application window in which you can create a drawing. Something that a console will never1 do.
So when your application really needs the ability to draw lines and shapes you can simply include the SaxionApp features in your project using the following steps.
Download SaxionApp.jar
Libraries in Java are distributes using .jar (Java ARchives) files. Here is a link to the SaxionApp.jar. Save it somewhere on your computer.
Add libraries to your project
From the File (Alt-f) menu, select the Project Structures sub-menu.
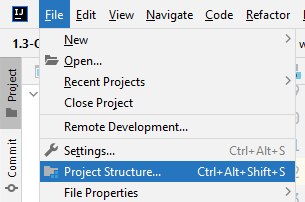
If you really want to amaze your friends you can press (Ctrl-Alt-Shift-s).
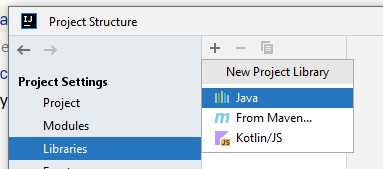
The following dialog appears.

Pressing the + button at the top you are given a choice that decides the source of your library. We simply choose the first one.
From that point you may select the downloaded .jar file. And press OK.
You are presented with one final confirmation:
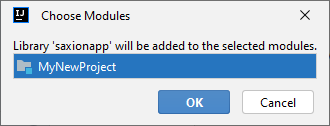
And the libary now appears in the list:
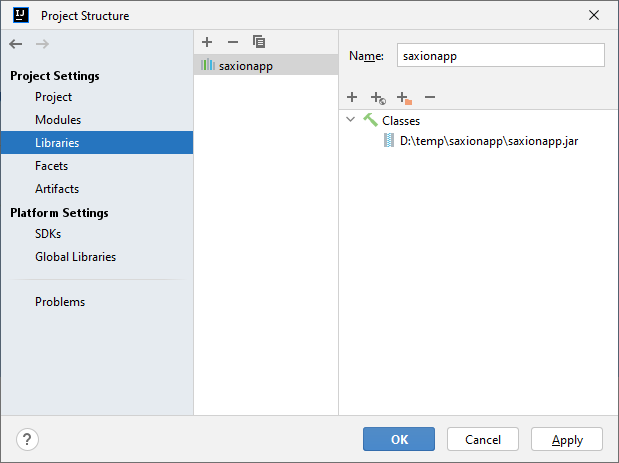
Be sure to press the Apply button.
Starting a SaxionApp application
After adding the library your, code can now include references to the classes that are provided by SaxionApp.
Starting a SaxionApp actually requires a bit of setup:
// Let this class know that the SaxionApp exists.
import nl.saxion.app.SaxionApp;
// Make sure your class implements the {@link Runnable} interface[^2].
public class Main implements Runnable {
public static void main(String[] args) {
// Print using the standard output.
System.out.println("Hello world!");
// Start the SaxionApp using this Main class...
SaxionApp.start(new Main(), 400, 100);
}
// This method is the starting point of your own saxion application.
@Override
public void run() {
// Use the SaxionApp.print function...
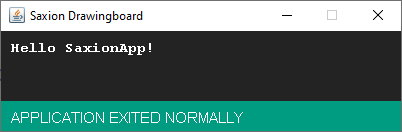
SaxionApp.print("Hello SaxionApp!");
}
}
And on your screen the saxion app window should look like this:
     __
  -=(o '.
     '.-.\
     /|  \\
     '|  ||
      _\_):,_
-
Well almost never: ↩